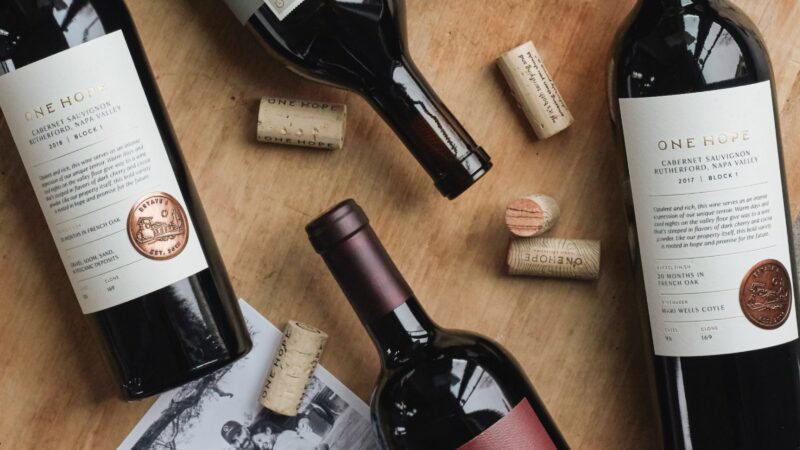
Creative DIY Projects Using Leftover Wine Corks
You pop the cork, pour a glass, and then immediately wonder, “What are some cute things to do with wine corks?” With the rise of crafty social media sites like Pinterest and Etsy, we’re seeing all kinds of adorable wine cork decorations out there. The truth is, if you enjoy arts and crafts at all, these projects can lead to some very cute home décor that helps keep waste out of landfills and adds flair to your home for no additional decoration cost. Here are three projects we love.
***For many of these projects you may find that you need help figuring out how to cut wine works. Flaking, shredding, and accidental finger cutting (ouch!) are common rookie mistakes. Here’s the easy trick to getting a clean cut without drawing blood.
Prep Your Corks to Cut
Bring a pot of water to a boil.
- Place corks in a steamer pan or metal colander and let them steam for about 15 minutes.
- Remove the cork with care- it will be hot- and place on a cutting board.
- Use a serrated knife or, preferably, a hacksaw to cut the cork in half, slices, or designs.
Corks as Stamps
This one is fun for everyone, but specifically for homes with small children. You can use the finished product with kids, as a letter seal, or even for Christmas and birthday present tags!
You’ll need:
- Corks
- Fresh Ex-acto knife
- Pencil
- Adhesive Foam mats (found at any craft store for under $1 each)
- Cutting mat
Instructions:
- Start by cutting your cork in half for landscape stamps, if needed. Many small stamps will fit on the tip of the cork with no additional cutting required.
- Next, use your pencil to draw a design on the end of the cork that the corkscrew did not enter. Don’t forget to draw in reverse if the design needs it (think letters and numbers). Then just use your knife to remove the negative space around the design.
- The adhesive foam allows for a more intricate design. Draw on the foam, cut it out with your Ex-acto knife and then stick in on the landscaped cork.
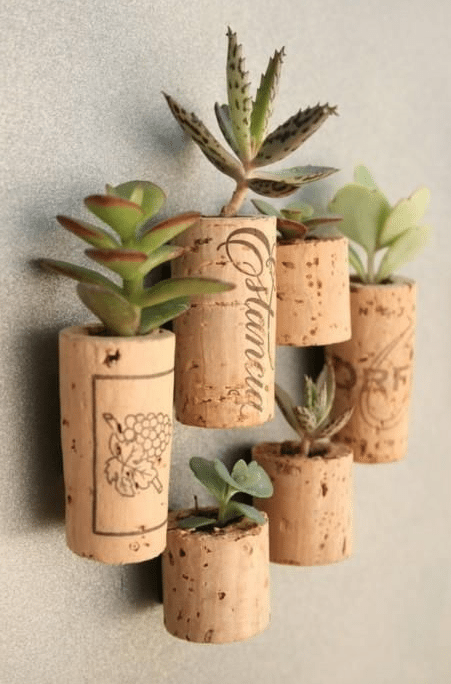
Corks as Succulent Planters
Source: http://www.apartmenttherapy.com/mini-diy-inspiration-173291
This one is as environmentally friendly as it is beautiful and addicting. Be careful, or you’ll wind up with a never ending garden hanging on your fridge!
You’ll need:
- Corks
- Small amount of soil
- Succulent clippings, small
- Magnets
- Hot glue gun
- Screwdriver
- Paring knife
Instructions:
- Start by using your screwdriver to punch a small hole in the top of the screw. The entry point of your corkscrew makes a great entry point. Use your knife to wiggle and break loose the corking, to about half way through the cork.
- Use your hot glue gun to attach the small magnet to the back of your cork. While they’re available, we don’t recommend self-adhesive magnets, as the cylindrical shape of the cork makes it difficult for them to stay connected. Hot glue forms a much tighter bond.
- Fill the tiny planter with soil, and place your succulent clippings inside. Maintenance is easy, just a drop of water every now and again, and your fridge now looks like a living work of art; created from the corks of some very special occasions!
Corks as Chip Clips
This is so practical we can hardly stand it. Who doesn’t need more chip clips, like all the time? Plus, these are way more stylish and sophisticated than those plastic clips that break all the time! If this isn’t the very idea behind the “reuse” in “reduce, reuse, recycle,” we’re not sure what is.
You’ll need:
- Corks
- An Ex-acto knife
This super simple project has exactly two steps. Just make two angled cuts into the bottom of the cork to remove a small wedge-like piece, and voila! Chip clip created!

Comments are closed for this article!